Hibernation is a feature of the Microsoft Windows Operating System which was primarily designed for laptops. When a PC goes into hibernation it takes a snapshot of all your files and windows and saves that snapshot to your hard drive before shutting down.
The next time you start your PC or laptop, your PC starts up faster, retrieves the snapshot from the disk, and pops up before the monitor almost instantly where you left it.
There are several ways to enable or disable hibernation in Windows 10. These are discussed below.
Using command line
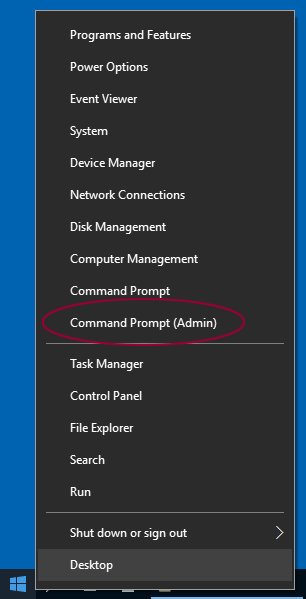
- Fire up the Windows 10 context menu by pressing the Windows Key+X key. We will use the “Command Prompt (Admin)” menu item. Click it. Press “Yes” if you’re prompted with permission.
- To enable the Hibernate, type the command powercfg/h on
- To disable the Hibernate, type the command powercfg/h off
To manage settings for Hibernate
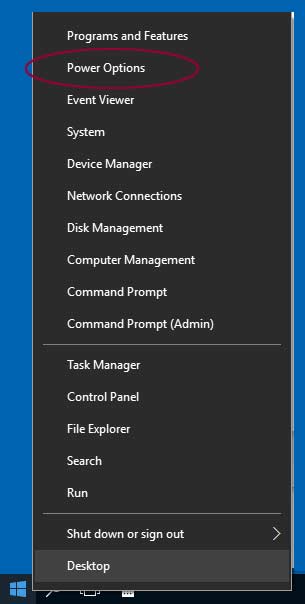
- Press the Windows key + X key to access the Windows power menu and select “Power Options” from there.
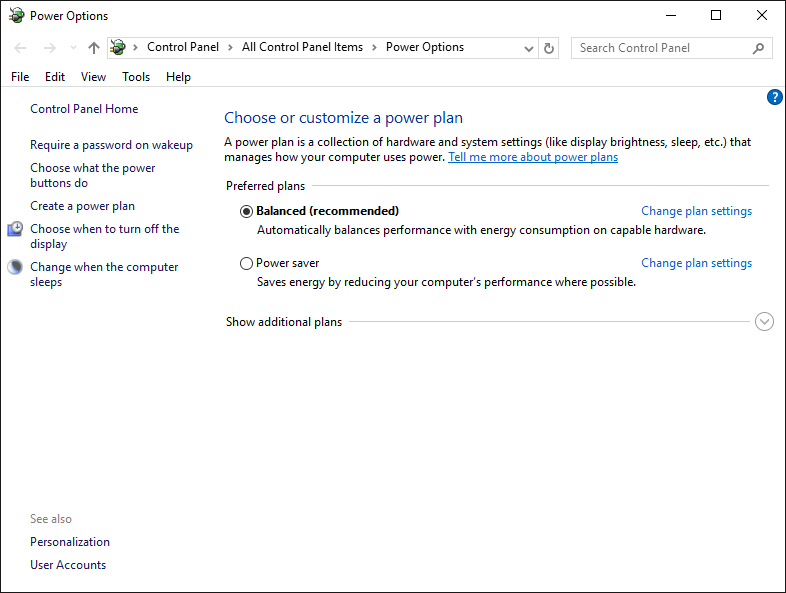
- Click “Change plan settings” next to the power plan you have active (most probably, “Balanced (recommended)“.
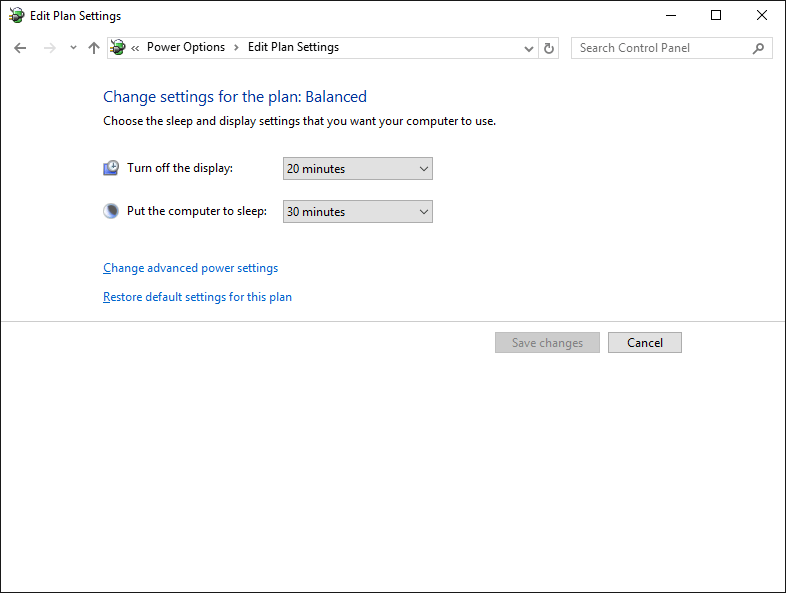
- Now select “Change advanced power settings“.
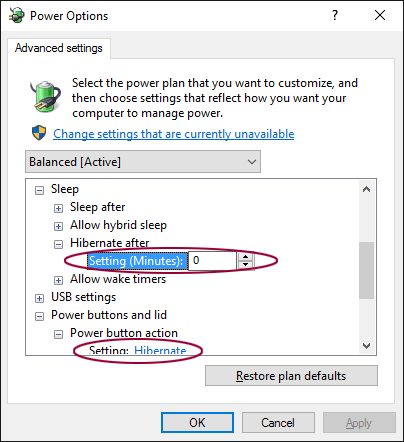
- In “Power Options scroll down and expand “Sleep“.
- Click on Hibernate after
- Enter the minutes you want your PC to be idle before it Hibernates
- Next, scroll further down to “Power buttons and lid“, and expand it.
- Select “Hibernate” under “Power button action” from the dropdown list.
- Press Ok to apply the changes.


Leave Your Comment